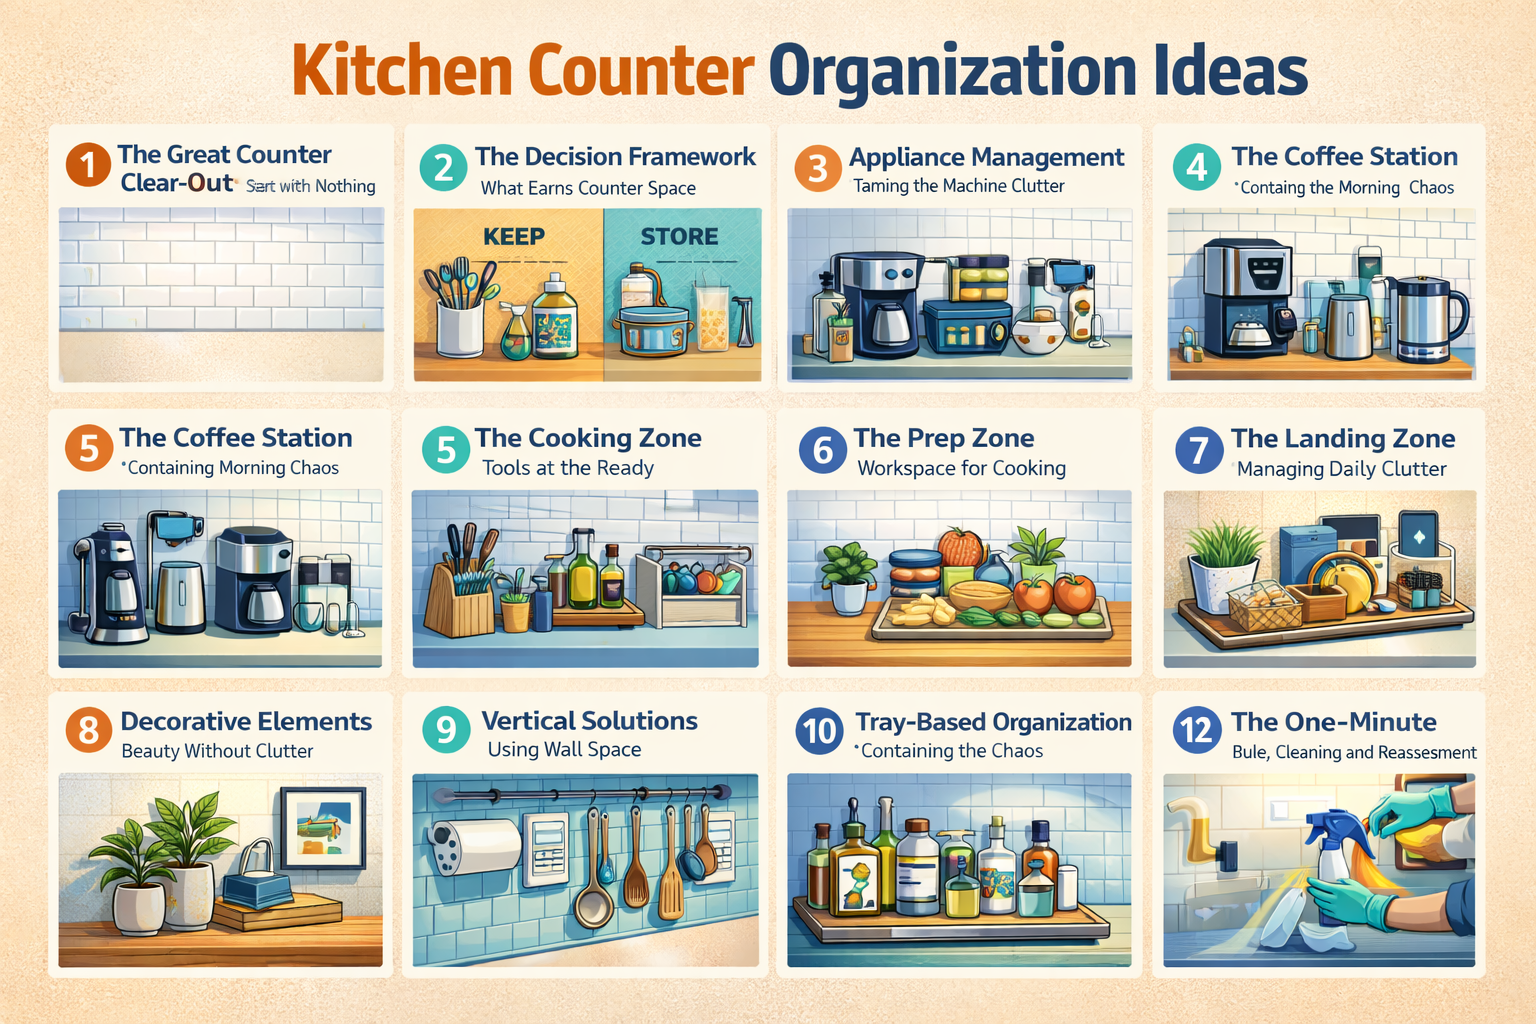
Kitchen Counter Organization Ideas : The kitchen counter is the most visible and most used surface in your home. It’s where you prepare meals, where morning coffee happens, where mail accumulates, where keys get dropped, where homework gets done, and where a thousand small moments of daily life unfold. Yet in many kitchens, the counter has become something else entirely—a dumping ground for appliances never used, papers never filed, items that have no other home.
A cluttered counter creates more than visual chaos. It makes cooking harder, cleaning more difficult, and the entire kitchen less enjoyable to use. Every item that sits on the counter is one more thing to move when you need workspace. Every appliance that lives there permanently is one more item competing for your attention.
But an organized counter transforms the kitchen. It creates workspace where you need it. It brings visual calm to the room. It makes cooking easier and more pleasurable. And it sets the tone for the entire home—an organized counter signals that this is a place of intention, not chaos.
The ideas that follow cover every aspect of counter organization, from deciding what belongs there to creating systems that keep it organized. They range from simple decluttering to clever storage solutions, from appliance management to decorative touches. Whether you have inches of counter space or feet, these ideas will help you create a counter that works for you.
Read More : Open Shelving Kitchen Organization Ideas
Kitchen Storage Ideas for Indian Homes
How to Organize Spices in Small Kitchen
How to Deep Clean Kitchen Sink Step by Step
1. The Great Counter Clear-Out: Start with Nothing
Before any organization can happen, you must clear your counters completely. Every appliance, every jar, every piece of decor, every item that has accumulated must be removed .
This is uncomfortable. It creates a mess. Your kitchen will look bare and strange. But it’s necessary. You need to see your counter as a blank slate, not as the backdrop for clutter .
As you remove items, place them on your dining table or floor where you can see everything at once. This visual inventory is revealing. You’ll see how much has accumulated, how many appliances you rarely use, how many items don’t actually belong .
Now clean your empty counters thoroughly. This is your chance to address any built-up grime, to wipe away years of accumulated residue. A clean counter feels different from a dirty one .
With the counters clean and empty, you’re ready to make intentional decisions about what returns .
2. The Decision Framework: What Earns Counter Space
Not everything belongs on your counter. In fact, very few things do. The counter is workspace, not storage. Every item that lives there permanently reduces available workspace .
The primary criterion for counter residency is frequency of use. Items you use multiple times daily have the strongest claim. Your coffee maker, if you use it every morning, earns a spot. Your toaster, if you use it daily, earns a spot. Your blender, if you make smoothies every morning, earns a spot .
The secondary criterion is necessity of permanent placement. Some items need to be always accessible because moving them would be impractical. A heavy stand mixer might earn counter space if you bake frequently and can’t lift it easily. A knife block might earn space if you don’t have drawer storage .
The tertiary criterion is aesthetic value. Beautiful items that add to your kitchen’s design can earn space even if used less frequently. A gorgeous Dutch oven, a collection of colorful canisters, a beautiful piece of pottery—these can live on the counter as functional decor .
Everything else should live in cabinets and come out when needed. If you use an appliance weekly, it can live in a cabinet and be retrieved. If you use it monthly, it definitely doesn’t belong on the counter .
3. Appliance Management: Taming the Machine Clutter
Small appliances are the biggest counter culprits. They’re bulky, they’re numerous, and they multiply mysteriously. Managing them is essential for counter organization .
Start by auditing your appliances. List every electric device in your kitchen. Now be honest about which you actually use. That bread machine you used twice? That panini press that seemed like a good idea? That second slow cooker you forgot you owned? If you haven’t used an appliance in a year, it’s time to donate it .
For appliances that earn a place, consider their footprint. Bulky appliances consume significant counter space. If possible, choose smaller versions. A two-slice toaster takes less space than a four-slice. A compact coffee maker takes less space than a commercial-style machine .
Consider vertical space. Some appliances can be stored in cabinets with pull-out shelves, making them accessible without living on the counter. Others can live on open shelving, keeping them accessible but off the counter .
Consider appliance garages. These are cabinets with roll-top doors that sit on the counter, hiding appliances when not in use. They keep appliances accessible but out of sight, maintaining visual calm .
4. The Coffee Station: Containing Morning Chaos
For many households, the coffee maker is the centerpiece of the morning routine. Creating a dedicated coffee station contains the chaos and makes mornings smoother .
Designate a specific area of counter for all coffee-related items. This includes the coffee maker, but also mugs, pods or beans, sweeteners, and stir sticks. Containing everything in one zone prevents spread .
Use a tray or mat to define the coffee zone. A beautiful tray corrals items visually, creating a contained area that feels intentional rather than cluttered. Choose a tray that’s easy to wipe clean .
Add small containers for supplies. A jar for pods or beans, a small canister for sugar, a cup for stir sticks. These keep items organized and add visual interest .
Consider a mug tree or rack if you have many mugs. This keeps them accessible while freeing up cabinet space. Choose one that fits your style and the number of mugs you actually use .
Keep the coffee zone minimal. Only the essentials should live here. Extra mugs, backup supplies, and rarely used items belong elsewhere .
5. The Cooking Zone: Tools at the Ready
Near the stove, you need quick access to cooking tools. A well-organized cooking zone makes meal preparation smoother and more enjoyable .
Designate an area near the stove for frequently used utensils. A crock or canister holding spatulas, wooden spoons, and ladles keeps them within reach without cluttering the counter .
Consider a magnetic strip mounted on the backsplash for knives and metal utensils. This keeps them accessible while freeing up counter and drawer space. Position it where you can reach easily while cooking .
For oils and salts, a small tray near the stove keeps essentials within reach. Olive oil, salt, pepper, and your most-used spices can live here. Keep the selection minimal—only what you use daily .
For pots and pans, consider whether any earn counter space. A frequently used skillet might live on the back burner. But generally, pots belong in cabinets, not on counters .
6. The Prep Zone: Workspace for Cooking
The most important function of your counter is providing workspace for food preparation. This area must remain clear for actual cooking .
Identify your primary prep area—the section of counter where you actually chop, mix, and assemble. This area should be kept completely clear except when actively in use .
If your kitchen has limited prep space, consider a pull-out cutting board that extends your counter. Some install under the counter and slide out when needed. Others sit on the counter but can be moved .
Keep your most-used prep tools accessible but not on the counter. Knives can live on a magnetic strip. Measuring cups and spoons can live in a nearby drawer. Mixing bowls can live in an accessible cabinet .
When prepping, take out what you need and return it when done. This prevents accumulation and keeps your workspace clear .
7. The Landing Zone: Managing Daily Clutter
Every kitchen needs a landing zone—a place for keys, mail, phones, and the daily items that otherwise accumulate everywhere. Designating a specific spot prevents this clutter from spreading .
Choose a small area of counter near the kitchen entrance for your landing zone. This could be a corner, a section of counter, or even a small shelf .
Use a tray or small basket to contain items. Keys go in the tray, mail goes in the basket, phones charge on the mat. Containing items prevents them from spreading .
Add a small bowl for loose change, a hook for bags, a spot for frequently used items. The goal is to contain the chaos, not eliminate it—some daily clutter is inevitable .
Keep the landing zone minimal. If it becomes a dumping ground for everything, it’s too big. Designate a specific, limited area and enforce that boundary .
8. Decorative Elements: Beauty Without Clutter
A kitchen should be beautiful, not just functional. But decorative elements on counters require careful curation to avoid becoming clutter .
The principle is simple: less is more. One beautiful vase with fresh flowers has more impact than a collection of tchotchkes. One striking piece of pottery makes a statement where a shelf of knick-knacks creates noise .
Choose decorative items that serve a purpose when possible. A beautiful wooden cutting board can be both functional and decorative. A bowl of fresh fruit adds color and provides healthy snacks .
Rotate decorative elements seasonally. This keeps the kitchen feeling fresh without accumulating permanent clutter. Spring flowers, summer herbs, autumn gourds, winter greenery—each season brings new beauty .
Be ruthless about what stays. If a decorative item doesn’t truly bring you joy, if it’s just taking up space, let it go. Your counter should feature only items you love .
9. Vertical Solutions: Using Wall Space
When counter space is limited, the walls offer additional real estate for items that need to be accessible. Vertical solutions keep counters clear while keeping tools within reach .
A rail system mounted on the backsplash provides hanging space for utensils, towels, and small items. Choose a length that fits your space and hooks that match your style .
Open shelving above the counter provides storage for frequently used items. Dishes, glasses, and cookbooks can live here, accessible without consuming counter space .
Magnetic strips hold knives and metal utensils, keeping them accessible without taking counter space. Mount them where you can reach easily while cooking .
Pot racks, if you have the ceiling height, keep pots accessible without consuming cabinet or counter space. Choose one that fits your kitchen’s style and your pot collection .
10. Tray-Based Organization: Containing the Chaos
Trays are one of the most versatile counter organization tools. They create contained zones that prevent items from spreading .
Use a tray to corral frequently used items. Oils and vinegars on one tray, salt and pepper on another, coffee supplies on a third. The tray defines the zone and keeps items contained .
When you need to clear the counter quickly, you can move the entire tray. Need workspace for a big cooking project? Lift the tray and set it aside. This flexibility is invaluable .
Trays also make cleaning easier. Instead of moving individual items, you lift the tray and wipe underneath. This small convenience encourages regular cleaning .
Choose trays that complement your kitchen’s style. Wood adds warmth, metal adds industrial edge, ceramic adds color. The tray becomes part of your decor .
11. The One-Minute Rule: Daily Maintenance
The best-organized counter will return to chaos without daily maintenance. The one-minute rule makes maintenance effortless .
Each time you leave the kitchen, take one minute to reset. Return stray items to their homes. Wipe down surfaces. Straighten what’s out of place. This tiny investment prevents gradual accumulation .
Make this a habit. After cooking, before sitting down to eat, spend one minute clearing. After morning coffee, before leaving for work, spend one minute resetting. These small moments add up .
Enlist family members. Everyone who uses the kitchen should participate in maintaining it. Teach children where things belong and expect them to contribute .
The one-minute rule works because it’s small. It doesn’t feel overwhelming. It’s just one minute. But consistently applied, it keeps your counters organized indefinitely .
Even with daily maintenance, counters benefit from periodic deep cleaning and reassessment. Seasonal resets keep your system functioning optimally .
Four times a year—perhaps at the change of seasons—do a counter reset. Remove everything. Deep clean the surfaces. Evaluate every item that lives on your counter .
Ask the same questions you asked during your initial declutter: Do I use this daily? Does it need to live here? Do I still love this decorative piece ?
Seasonal resets catch the creep that happens over time. That appliance you bought and never used? Now’s the time to donate it. That decorative item you’ve stopped noticing? Now’s the time to let it go .
Use seasonal resets to refresh your kitchen. Add a new plant, change your tray, update your decorative elements. Keep your kitchen feeling alive and current .
| Organization Idea | Purpose | Key Items | Time Required |
|---|---|---|---|
| The Great Clear-Out | Start fresh | None | 1-2 hours initially |
| Decision Framework | Determine what stays | Your items, honest assessment | Ongoing |
| Appliance Management | Tame appliance clutter | Appliances, donation box | 1 hour quarterly |
| Coffee Station | Contain morning routine | Tray, canisters, mug tree | 30 minutes setup |
| Cooking Zone | Tools at the ready | Utensil crock, magnetic strip | 30 minutes setup |
| Prep Zone | Clear workspace | Cutting board, accessible tools | Ongoing |
| Landing Zone | Manage daily clutter | Tray, small basket, hook | 15 minutes setup |
| Decorative Elements | Beauty without clutter | Meaningful items, seasonal rotation | 15 minutes monthly |
| Vertical Solutions | Use wall space | Rail system, shelves, magnetic strips | 1-2 hours installation |
| Tray-Based Organization | Contain zones | Trays in various sizes | 30 minutes setup |
| One-Minute Rule | Daily maintenance | Your attention | 1 minute daily |
| Seasonal Resets | Deep cleaning | Cleaning supplies | 2 hours quarterly |
The Psychology of Clear Counters
The benefits of organized counters extend far beyond the practical. There is a psychological dimension to order that affects how we feel about our kitchens and, by extension, about cooking itself .
A cluttered counter creates visual noise. Every item competes for your attention, creating a sense of chaos even when you’re not consciously aware of it. This subliminal stress accumulates, subtly affecting your mood .
A clear counter, by contrast, creates visual calm. Your eye rests, your mind settles. The space feels peaceful rather than overwhelming. This calmness transfers to your cooking—you’re more likely to enjoy the process when the environment supports it .
Clear counters also make cleaning easier. With nothing to move, you can wipe down surfaces in seconds. This ease encourages regular cleaning, which maintains the calm .
There’s also a sense of pride in a well-organized counter. When you walk into your kitchen and see order rather than chaos, you feel good about your space. This positive feeling carries into your cooking and your day .
Customizing for Your Kitchen
Every kitchen is different, and the ideas above must be adapted to your specific space. A sprawling kitchen with abundant counter space has different needs than a tiny galley kitchen .
In a small kitchen, every inch counts. Be even more ruthless about what earns counter space. Use vertical solutions aggressively. Consider appliances that serve multiple functions—a toaster oven that also air-fries, a coffee maker with a built-in grinder .
In a large kitchen, the challenge is different. More space can lead to more accumulation—counters fill with items simply because there’s room. Apply the same principles of frequency and necessity, even if you have space for more .
Consider your cooking style. A serious home baker needs different counter items than someone who cooks simple meals. A household with children has different needs than empty-nesters. Your counter should reflect your actual life, not an idealized version .
Conclusion : Kitchen Counter Organization Ideas
The kitchen counter is the heart of your home’s most important room. It deserves to be organized intentionally, to serve you rather than frustrate you. With the ideas in this guide, you can transform your counters from cluttered chaos into functional beauty .
Start with the great clear-out. Remove everything and assess honestly. Apply the decision framework—only daily-use items and meaningful decor earn space. Manage appliances ruthlessly. Create zones for coffee, cooking, and daily clutter. Use trays to contain what remains. Maintain with the one-minute rule and seasonal resets .
The result is a kitchen that works for you. Counters that provide workspace when you need it. Visual calm that soothes rather than stresses. A space that invites cooking rather than overwhelming you .
Your counters have potential. With these ideas, you can unlock that potential and create a kitchen you truly love. Start today. Your organized kitchen awaits .