How to Deep Clean Kitchen Sink Step by Step : The kitchen sink is, without question, the hardest-working fixture in your home. It is the silent witness to the daily drama of meal preparation, the final resting place of sticky pots and greasy pans, the catch-all for coffee grounds and vegetable peelings, and the receptacle for countless gallons of murky dishwater. We scrub our dishes, our counters, and our floors, yet the sink itself—the very vessel of our cleanliness—is often neglected, becoming a reservoir of bacteria, biofilm, and unsightly grime. A 2022 study by the National Sanitation Foundation (NSF) found that kitchen sinks actually harbor more germs than trash cans or toilet seats. This startling fact transforms sink cleaning from a cosmetic chore into a critical health practice.
Deep cleaning your kitchen sink is not the same as the cursory rinse and wipe it receives after washing dishes. A true deep clean involves a systematic approach to dismantle built-up grease, dissolve mineral deposits, sanitize every crevice, and restore the sink’s original luster. Whether your sink is made of stainless steel, porcelain, enamel, or composite granite, this comprehensive, step-by-step guide will walk you through the entire process. By the end, you will not only have a sparkling, hygienic sink but also the knowledge to keep it that way. Prepare to give your kitchen’s workhorse the respect and rejuvenation it deserves.
Read More : How to Organize Spices in Small Kitchen
How to Prevent Ants in Kitchen Naturally
How to Organize Spices in Small Kitchen
How to Get Rid of Kitchen Odor Naturally
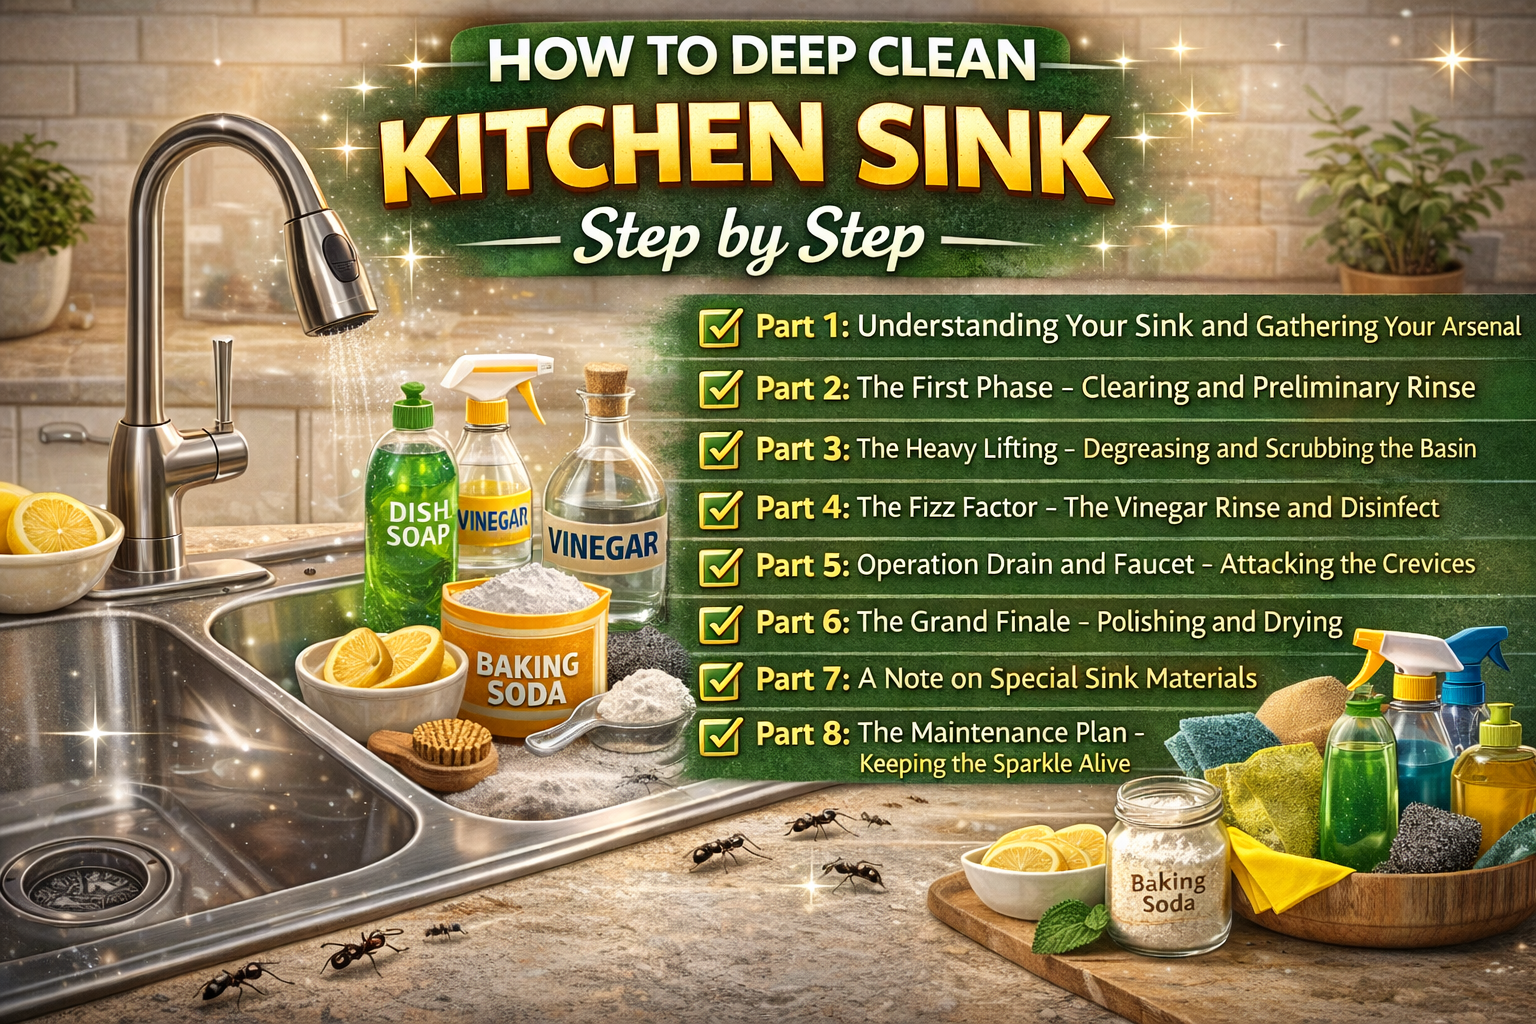
Part 1: Understanding Your Sink and Gathering Your Arsenal
Before you even turn on the tap, a few moments of preparation will ensure your deep cleaning mission is efficient, safe, and effective. The most important factor is knowing the material of your sink, as harsh abrasives or acids that work wonders on one surface can permanently damage another.
- Stainless Steel: The most common sink material. It is durable and resistant to rust and stains, but it scratches easily and shows water spots. The goal is to clean and then polish to restore its shine.
- Porcelain/Enamel: These sinks have a smooth, glass-like finish that is beautiful but can chip, crack, and stain. They are sensitive to harsh abrasives and strong acids which can dull or etch the surface.
- Composite Granite/Quartz: Made from stone dust and resins, these sinks are highly durable and resistant to scratches and stains, but they can be damaged by harsh chemicals and extreme temperature changes.
- Fireclay: Similar to porcelain but even more durable, fireclay is baked at extremely high temperatures. It is resistant to most things but can still be chipped by heavy blows.
Assembling Your Natural Cleaning Arsenal:
You will not need a cabinet full of harsh chemicals. Your pantry likely holds everything required for a perfect deep clean.
- Baking Soda: A gentle, non-scratch abrasive, deodorizer, and mild alkali that helps break down grease and food residues .
- White Vinegar: Cuts through grease, dissolves hard water mineral deposits (calcium and limescale), and acts as a natural disinfectant and deodorizer .
- Lemon Juice: A powerful, pleasantly scented acid that tackles grease and helps brighten surfaces .
- Coarse Salt (Kosher or Sea Salt): Provides extra scrubbing power for stubborn spots without being as harsh as steel wool .
- Dish Soap: A mild, natural liquid dish soap is essential for its grease-cutting surfactants .
- Hydrogen Peroxide (3%): An excellent, fizzing disinfectant and mild bleach that is safe for most sink surfaces and especially good for whitening grout or porcelain .
- Optional: Cream of Tartar: A fine, acidic powder that is surprisingly effective at polishing stainless steel and removing rust spots .
Tools of the Trade:
- Non-scratch scrubbing sponge or scrub brush
- An old, soft-bristled toothbrush (perfect for getting into crevices around the faucet and drain)
- Microfiber cloths (several, as they are lint-free and highly absorbent)
- A small bowl for mixing pastes
- A spray bottle
- Optional: A rubber sink mat (for protection, but remember to clean under it regularly)
Part 2: The First Phase – Clearing and Preliminary Rinse
Every successful deep clean begins with a clean slate. This initial step removes the loose debris so your cleaning solutions can work directly on the built-up grime.
- Empty the Sink Completely: Remove every single item. This includes the dish rack, the drying mat, the soap dispenser, any scrub brushes, and, most importantly, the sink strainer or basket. These items harbor their own grime and will be cleaned separately. Place them in a bucket or your dishpan with some hot, soapy water to soak while you work on the sink itself.
- Rinse with Hot Water: Turn on the tap to its hottest setting and let the water run for a minute, thoroughly rinsing the entire sink basin. The heat helps to liquefy surface grease and prepares the surface for cleaning. Pay special attention to the sides, the bottom, and around the drain.
- Remove Loose Debris: Use a rubber spatula or a paper towel to push any lingering food particles or settled grit towards the drain and wash them away. If you have a garbage disposal, you can run it briefly with the hot water to clear any food from the grinding chamber. This step is crucial for preventing you from just pushing dirt around in the later scrubbing phases.
Part 3: The Heavy Lifting – Degreasing and Scrubbing the Basin
Now the real work begins. This step is designed to break down and physically remove the layers of grease, soap scum, and stuck-on food that a daily rinse can’t touch. We will use the power of baking soda.
For All Sink Types: The Baking Soda Scrub
- Dampen the Sink: Wet the entire surface of the sink basin with warm water. This helps the baking soda adhere and form a paste.
- Apply Generous Baking Soda: Sprinkle a generous amount of baking soda over every inch of the sink. Don’t be shy. Cover the bottom, the sides, the area around the drain, and even the back ledge. For a standard double-basin sink, you might use half a box or more.
- Create a Paste and Let It Dwell: Use a damp sponge to gently spread the baking soda around, turning the dry powder into a thick, spreadable paste. Once the entire sink is coated, walk away. Let this paste sit for at least 10-15 minutes. This dwell time is critical; it allows the mild alkalinity of the baking soda to penetrate and start saponifying (turning into soap) the greasy film that coats the surface .
- Scrub, Scrub, Scrub: After the waiting period, take your non-scratch sponge or scrub brush. With a little elbow grease, begin scrubbing the entire sink in circular motions. You will feel the gentle abrasion of the baking soda lifting away the grime. For stainless steel, scrub in the direction of the grain (the visible lines in the metal) to avoid creating fine scratches that go against the natural pattern . For porcelain and composite sinks, a circular motion is fine.
- Tackle Stubborn Spots: For areas with baked-on residue or rust-colored stains, create a thicker, more potent paste. Mix a small amount of baking soda with either lemon juice or hydrogen peroxide. Apply this paste directly to the spot, let it sit for another 10-15 minutes, then scrub vigorously with your toothbrush or sponge. The acid in the lemon or the bleaching action of the peroxide will provide an extra boost .
Part 4: The Fizz Factor – The Vinegar Rinse and Disinfect
With the grease physically loosened, it is time to deploy the second member of our dynamic duo: vinegar. This step helps to dissolve mineral deposits, rinse away the baking soda residue, and provide a final sanitizing boost.
- Spray with Vinegar: Fill your spray bottle with white vinegar. After you have finished scrubbing with the baking soda paste (do not rinse it out yet), spray the entire sink liberally with the vinegar.
- Watch the Magic Happen: The vinegar will immediately react with the baking soda, causing a satisfying, fizzy foam to erupt across your sink. This effervescent action is not just for show; it provides a gentle, mechanical lift, helping to dislodge any remaining residue from the microscopic pores of the sink surface and the crevices around the drain .
- Let the Fizz Work: Allow the fizzing mixture to sit for another 5 minutes. This gives the acid in the vinegar time to work on any hard water scale or mineral buildup that may be present.
- Rinse Thoroughly with Hot Water: Now, rinse the entire sink with very hot water. Use your sponge or a cloth to help wash all the baking soda and vinegar mixture down the drain. Be thorough. Any remaining baking soda can leave a chalky, dull film.
- The Hot Water Flush for Drains: As a final step for this phase, fill the sink basin with very hot water (as hot as your tap can get) and a good squirt of dish soap. Let the basin fill completely, then pull the plug all at once. The sudden rush of hot, soapy water helps to flush away any grease or debris that may be lingering in the drain trap and pipes, keeping them fresh and clear .
Part 5: Operation Drain and Faucet – Attacking the Crevices
The main basin is clean, but the devil is in the details. The faucet, handles, and drain are the most touched and most neglected parts of the sink, often coated in a biofilm of water, soap, and germs.
Cleaning the Faucet and Handles:
- The Soap and Vinegar Wipe: Dip a microfiber cloth in undiluted white vinegar and wrap it around the base of the faucet and the handles. Let it sit for 5-10 minutes. This helps to dissolve hard water spots and mineral crust .
- Scrub with a Toothbrush: Use your old toothbrush, dipped in vinegar or a baking soda paste, to scrub all the nooks and crannies. Pay special attention to the area where the faucet meets the sink deck, the hinges of the handles, and the base of the sprayer head. This is where grime and “gunk” love to accumulate.
- Clean the Aerator: The aerator is the small screw-on tip of the faucet. Over time, it can become clogged with mineral deposits, reducing water pressure. Unscrew it (check the manufacturer’s instructions if it’s stuck). Soak it in a small bowl of white vinegar for 30-60 minutes. Use the toothbrush to scrub away any remaining debris, then rinse and screw it back on .
- Polish (for Stainless Steel): For a brilliant, streak-free shine on chrome or stainless steel fixtures, buff them dry with a clean microfiber cloth. For an extra polish, you can use a tiny dab of olive oil on a cloth, buffing it in and then wiping away any excess for a protective, gleaming finish .
Cleaning the Sink Strainer and Drain Assembly:
- Retrieve and Scrub: Retrieve the sink strainer or basket that you set aside to soak. Use your toothbrush and some baking soda to scrub away any trapped food or slime from every part of it. Rinse thoroughly.
- Deodorize and Sanitize the Drain: The drain opening itself can be a source of odors. Sprinkle a good amount of baking soda directly down the drain, making sure it coats the sides of the opening as much as possible. Follow it with a cup of white vinegar. It will foam vigorously. Let it sit for 10-15 minutes, then flush with very hot water . This cleans the visible part of the drain and the top of the garbage disposal flaps.
- Clean the Garbage Disposal Flange: If you have a disposal, use a long-handled scrub brush or your toothbrush to carefully scrub the rubber flaps inside the drain opening. Food particles get trapped here and rot, causing smells.
Part 6: The Grand Finale – Polishing and Drying
With every surface scrubbed and rinsed, the final step is what transforms a clean sink into a truly stunning one.
- The Final Rinse: Give the entire sink, faucet, and surrounding countertop one last rinse with cool or warm water to ensure no cleaning residue remains.
- Dry and Buff: This is the most important step for achieving a streak-free, sparkling shine. Take a clean, dry microfiber cloth and thoroughly dry every surface. For stainless steel, this single step prevents water spots and hard water marks from forming. For porcelain, it leaves a brilliant, glossy finish.
- The Stainless Steel Polish (Optional): If you have a stainless steel sink and want an extra shine, you can use a specialized natural polish. A simple and effective method is to sprinkle a small amount of baking soda or cream of tartar on the surface and buff it with a dry cloth. Alternatively, a tiny dab of mineral oil or even olive oil on a cloth, buffed in and then wiped clean, can create a beautiful, protective sheen and help repel future water spots . For a quick shine, you can also use a glass cleaner sprayed onto a cloth (never directly onto the sink) and buff.
- Reassemble: Return the now-clean sink strainer, soap dispenser, and any other items to their places. Step back and admire your work.
Part 7: A Note on Special Sink Materials
While the baking soda and vinegar method is safe for most sinks, certain materials require slight adjustments.
- Porcelain and Enamel Cast Iron: These sinks are prone to scratching and etching. Never use abrasive scrubbers like steel wool or harsh scouring powders. Stick firmly to the non-scratch sponge and baking soda paste. For tough stains, the lemon juice or hydrogen peroxide paste is safer than abrasive scrubbing.
- Natural Stone (Marble, Granite, Travertine): These are rarely used as full sink basins but are common for farmhouse-style aprons or countertops around the sink. They are highly sensitive to acids like vinegar and lemon juice, which can etch and dull the surface. For these, use only a mild solution of dish soap and water, or a cleaner specifically formulated for natural stone.
- Copper: Copper sinks develop a natural patina over time, which many people love. If you want to keep it shiny, you can use a paste of lemon juice and salt or a mixture of vinegar and salt. However, be aware this will strip the patina. Rinse immediately and thoroughly after using any acid on copper.
Part 8: The Maintenance Plan – Keeping the Sparkle Alive
A deep clean is a wonderful achievement, but a simple, regular maintenance routine will make the next deep clean much easier and keep your sink looking great every day.
- The Daily Post-Dinner Wipe-Down: This is the single most effective habit. After you’ve finished the dishes for the night, take a moment to spray the sink with a 1:1 mixture of water and white vinegar, or simply wipe it down with a drop of dish soap on a damp sponge. Then, take a dry cloth and quickly buff the sink dry. This takes 60 seconds and prevents soap scum, water spots, and grease from building up.
- Weekly Freshening: Once a week, give the drain a quick deodorizing treatment. Sprinkle a few tablespoons of baking soda down the drain, let it sit for a few minutes, then flush with hot water.
- Monthly Maintenance Scrub: Once a month, do a quick scrub with a baking soda paste, even if it doesn’t seem dirty. This prevents the gradual buildup of film that leads to a dull appearance.
- Protect the Surface: Avoid leaving wet sponges, metal cans, or cast iron pans sitting in the sink, as they can cause rust stains or scratches. Use a sink grid or mat to protect the bottom from heavy pots and dishes.
Conclusion ( How to Deep Clean Kitchen Sink Step by Step )
Deep cleaning your kitchen sink is a transformative act. It elevates a utilitarian chore into a ritual of home care, resulting in a fixture that is not only hygienically clean but also visually stunning. By following this step-by-step guide, you have moved beyond a simple wipe-down and have disassembled, scrubbed, disinfected, and polished the very heart of your kitchen. You have tackled the grease, dissolved the minerals, and sanitized the hidden crevices where germs lurk.
The result is more than just a clean sink. It is a more pleasant and healthy space for preparing meals, a point of pride in your kitchen, and a testament to the power of simple, natural ingredients. With a consistent maintenance routine, you can extend that just-cleaned feeling indefinitely. So, the next time you stand at your sink, take a moment to appreciate its renewed sparkle. You have given it the deep clean it deserves, and in return, it will continue to serve you faithfully for years to come.
4 thoughts on “How to Deep Clean Kitchen Sink Step by Step”